トップ > 製作進行状況 > 装甲騎兵ボトムズ HGマーシィドッグ[ウェーブ製 1/24]★4★
装甲騎兵ボトムズ HGマーシィドッグ[ウェーブ製 1/24]★4★
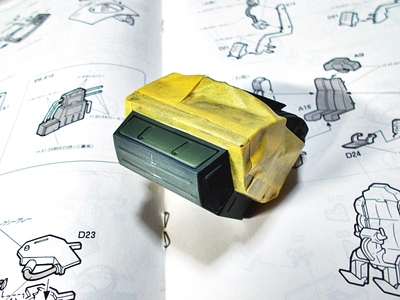
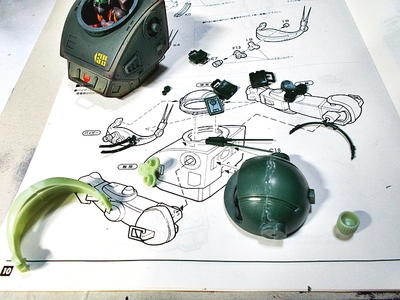
胸部
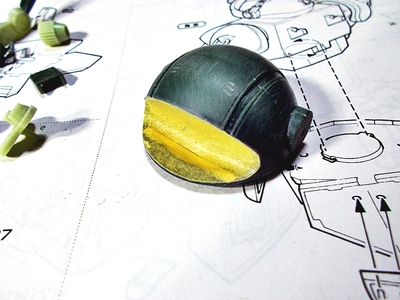
下部は別色になるのでマスキングします
塗装完了

フィギュア
ベースの色を塗装
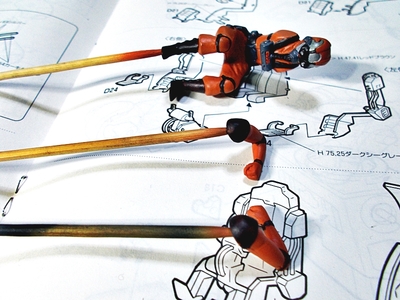
塗り分けました
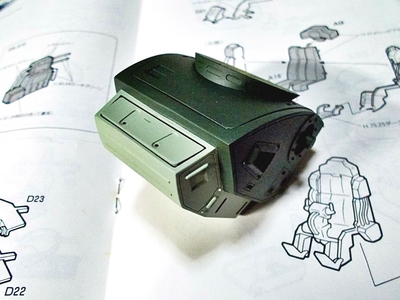
ボディ
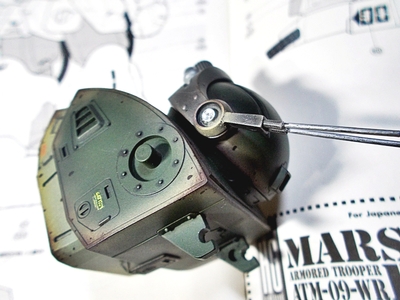
ウェザリング仕上げ中
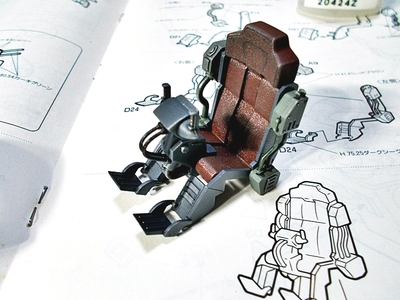
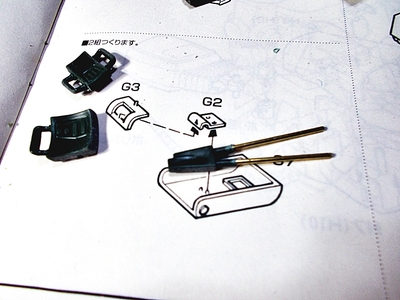
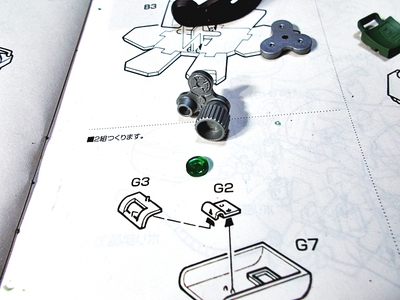
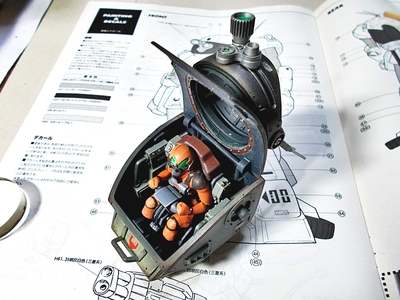
コクピットシートです
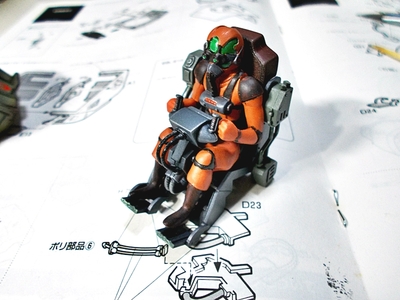
フィギュアを取り付けます
ボディに組み付け
操縦桿は切り取り、パイロットの手を位置に合わせました
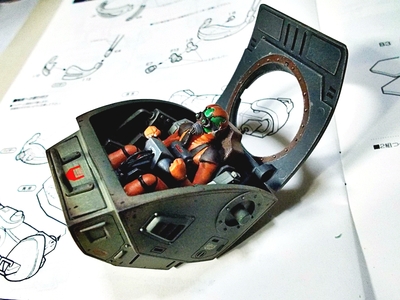
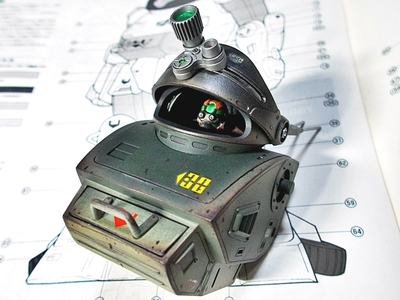
ハッチを下ろした状態です
組説のとおり組むとフィギュアが干渉してハッチが合わないため、
この状態にするにはかなりの苦労があります
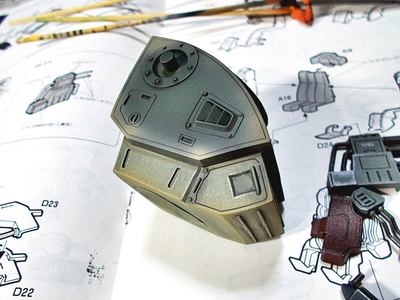
頭部の製作に入りました
アンテナブレードはヘニョッてましたので真鍮線に交換
塗装に入ります
内部と色が違うのでマスキングします
ターレットスコープ
レンズは他キットより流用、裏面にメタルテープを貼り
表面をクリアグリーンで塗装、光を拾います
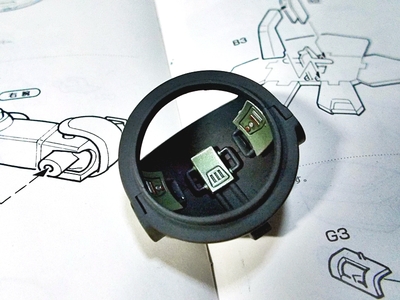
内部計器盤です
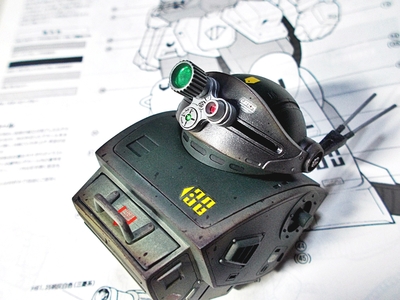
上半身完了
側部にメタルパーツを追加
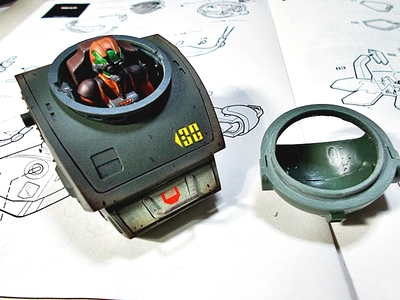
ハッチ開口しますが、部品強度の問題から開閉は慎重に
DATE: 13/02/11 10:49 | ▲PAGE TOP
トラックバック
このエントリーのトラックバックURL:
http://matever.com/cgi/mt/mt-tb.cgi/401
- 未来少年コナン フライングマシンI&II [アオシマ製 1/32&1/144]
- 未来少年コナン フライングマシンI&II [アオシマ製 1/32&1/144]★3★
- 製作のご依頼
- 未来少年コナン フライングマシンI&II [アオシマ製 1/32&1/144]★2★
- HG マジンガーZ(マジンガーZ INFINITY Ver.)[バンダイ製 1/144]

Copyright © 2006. MATEVER1.5. ALL RIGHTS RESERVED.