トップ > 製作進行状況 > 三菱 J2M3 局地戦闘機 雷電 21型[ハセガワ製 1/32]★5★
三菱 J2M3 局地戦闘機 雷電 21型[ハセガワ製 1/32]★5★
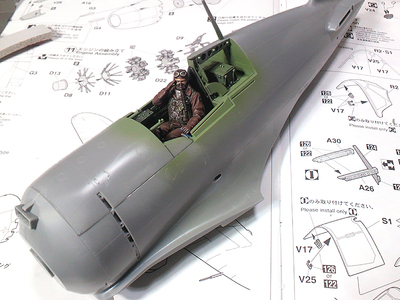
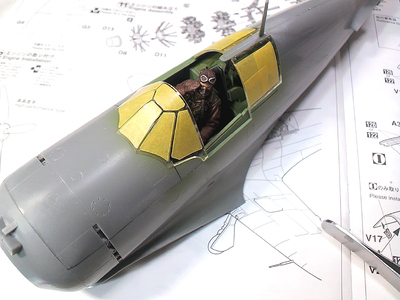
胴体部、前部パネル取り付け
キャノピー支柱も取り付け
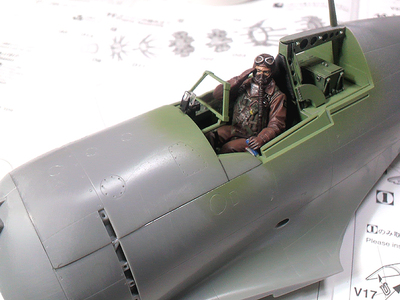
照準器と前面防弾ガラス部品取り付け
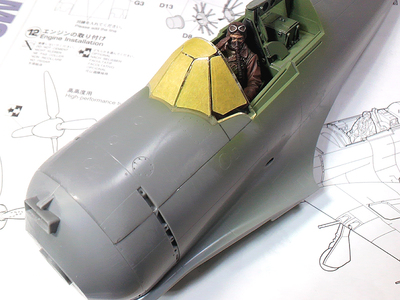
キャノピーをマスキングして取り付けます
キャノピー内部
取っ手も取り付けました
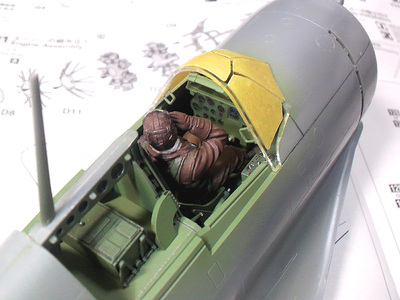
後部、サイドのキャノピーも取り付けます
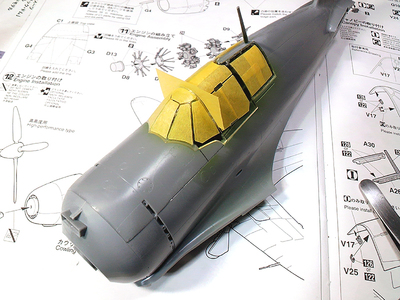
中央部キャノピーはまだ固定しません
この後の作業があるためです
取り敢えず 機体内部色にて塗装
後に機体色を吹きます
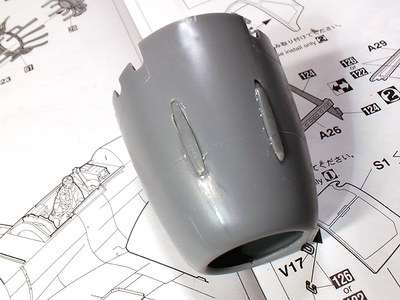
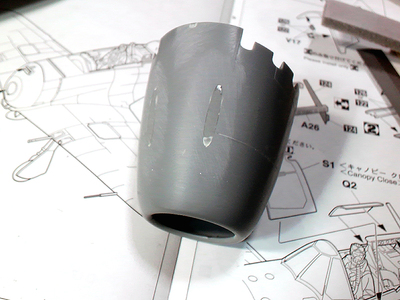
エンジンカウル
後の発展型用に空いている機銃口を埋めます
ハセガワ特有の後のバリエーションに対する部品構成です
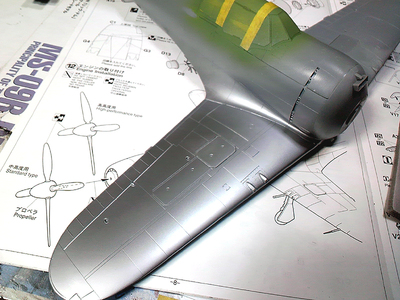
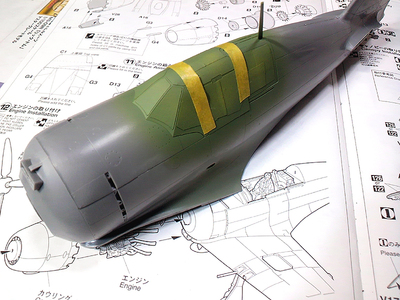
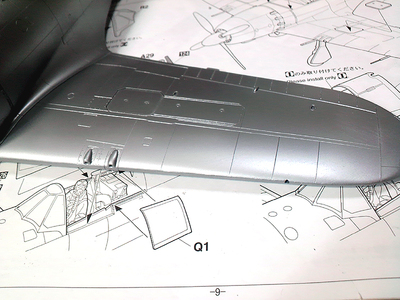
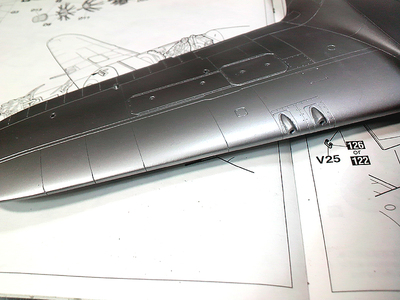
主翼取り付け
いつものようにクロームシルバーをサフェーサー替わりに吹きます
すり合わせで失われたモールドの彫り直しとリベットを打つ際に分かり易いためです
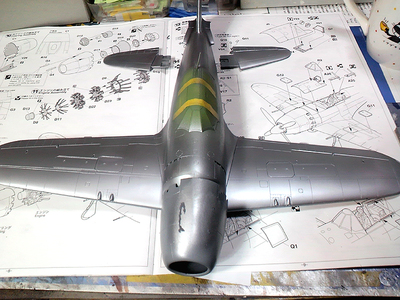
エンジンカウル
ざっと仕上げました
この後モールドとリベットを打ち直します
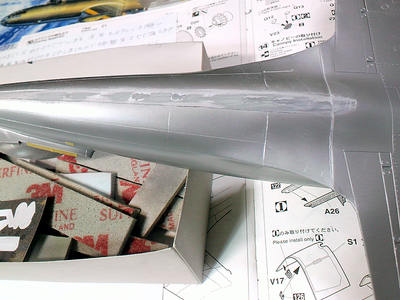
胴体下部
合わせ目を仕上げ中
すり合わせで消えたラインを仕上げます
こんな感じです

基準となる溝ラインのリベットを打ちました

縦ラインのリベットを打っていきます
手前リベッターはピンバイスを改良して自作したリベッターです

縦ライン、リベット打ち込み完了
溝ラインに入ります
DATE: 12/01/10 14:42 | ▲PAGE TOP
トラックバック
このエントリーのトラックバックURL:
http://matever.com/cgi/mt/mt-tb.cgi/255
- 未来少年コナン フライングマシンI&II [アオシマ製 1/32&1/144]
- 未来少年コナン フライングマシンI&II [アオシマ製 1/32&1/144]★3★
- 製作のご依頼
- 未来少年コナン フライングマシンI&II [アオシマ製 1/32&1/144]★2★
- HG マジンガーZ(マジンガーZ INFINITY Ver.)[バンダイ製 1/144]

Copyright © 2006. MATEVER1.5. ALL RIGHTS RESERVED.