トップ > 製作進行状況 > 三菱 J2M3 局地戦闘機 雷電 21型[ハセガワ製 1/32]★4★
三菱 J2M3 局地戦闘機 雷電 21型[ハセガワ製 1/32]★4★

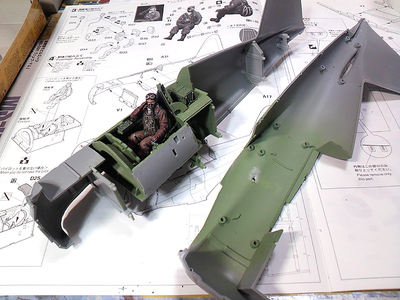
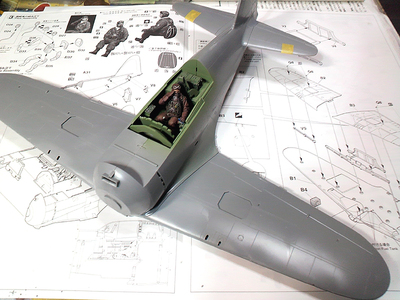
コクピットを機体に取り付けていきます
機体内側をコクピット色で塗っておきます
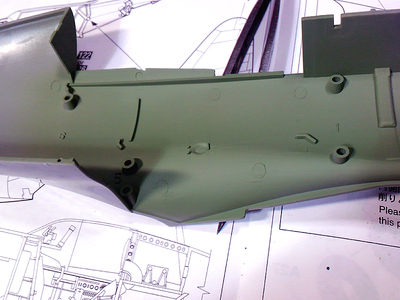
中央部後のバリエーションでしょうか、斜め機銃用のポートのガイドがあります
迎撃機作中で斜め機銃が取り付けられた機体になっているため再現します

機銃取り付け
作中では偽装して竹竿なんですが・・・
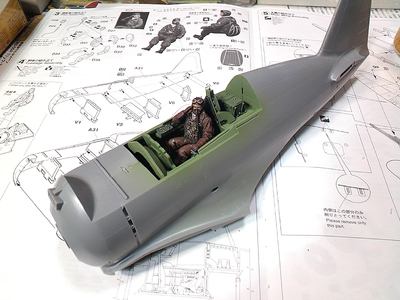
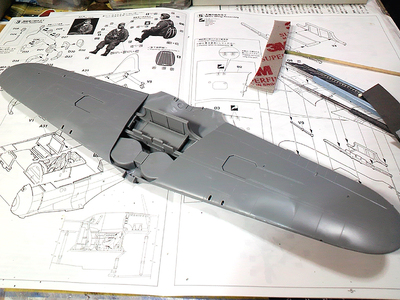
胴体部取り付け
松本零士氏の作品で、零戦は貴婦人だが雷電は大美人だな・・・
と言っていたシーンを思い出します
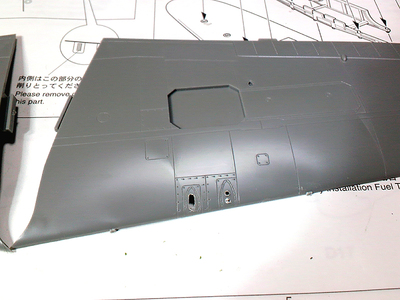
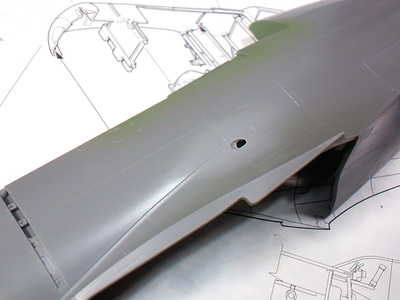
翼内機銃部
ガイドに沿って開口中
開口前と開口後です
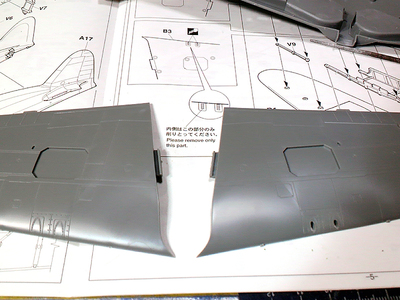
主翼組み付け中
胴体に仮組み
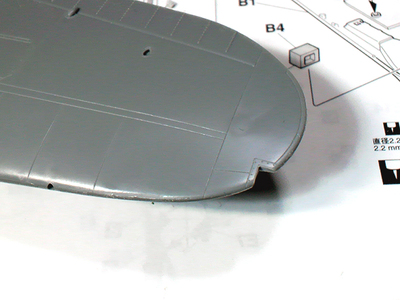
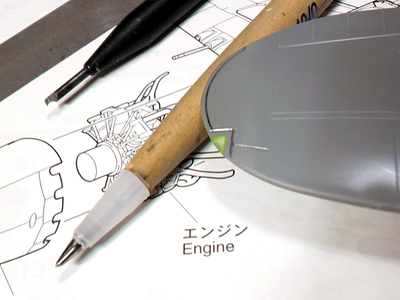
翼端灯クリアパーツ化のため加工中
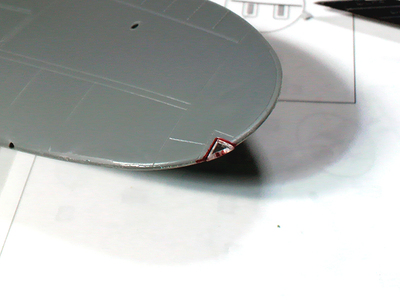
取り敢えずクリアパーツ取り付け
研磨していきます
尾灯クリアパーツ取り付け
右翼クリアパーツ加工前です
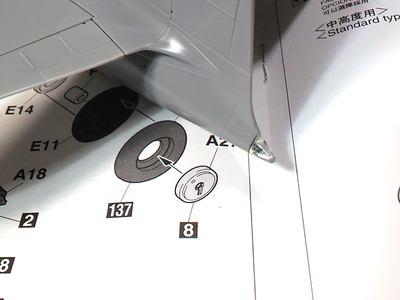
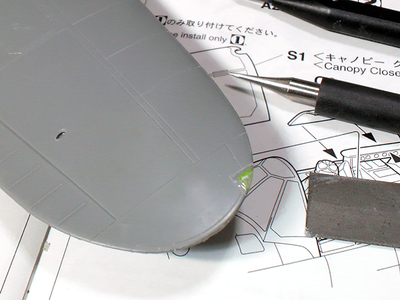
研磨完了
研磨で失ったパネルラインも彫り直しました

20mm機銃取り付け部カバーを取り付け中
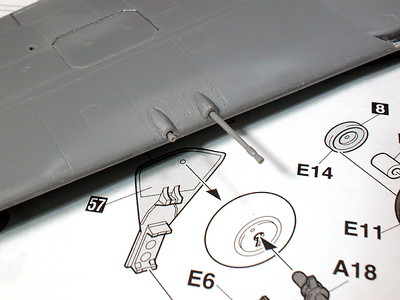
左右逆でしたが、このような配列になります
銃身はピンバイスで開口済み後に取り付けます
DATE: 11/12/27 11:51 | ▲PAGE TOP
トラックバック
このエントリーのトラックバックURL:
http://matever.com/cgi/mt/mt-tb.cgi/253
- 未来少年コナン フライングマシンI&II [アオシマ製 1/32&1/144]
- 未来少年コナン フライングマシンI&II [アオシマ製 1/32&1/144]★3★
- 製作のご依頼
- 未来少年コナン フライングマシンI&II [アオシマ製 1/32&1/144]★2★
- HG マジンガーZ(マジンガーZ INFINITY Ver.)[バンダイ製 1/144]

Copyright © 2006. MATEVER1.5. ALL RIGHTS RESERVED.