トップ > 製作進行状況 > 装甲騎兵ボトムズ ラビドリードッグ[モグ工房 1/24]★4★
装甲騎兵ボトムズ ラビドリードッグ[モグ工房 1/24]★4★
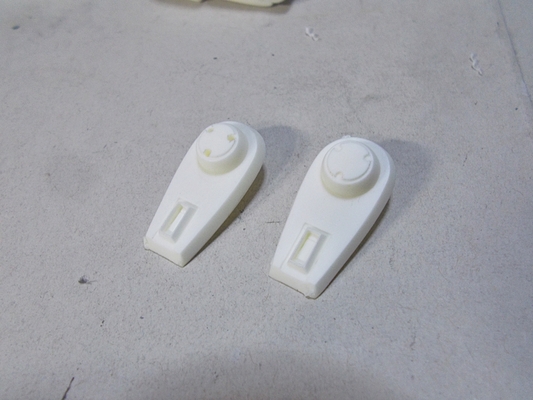
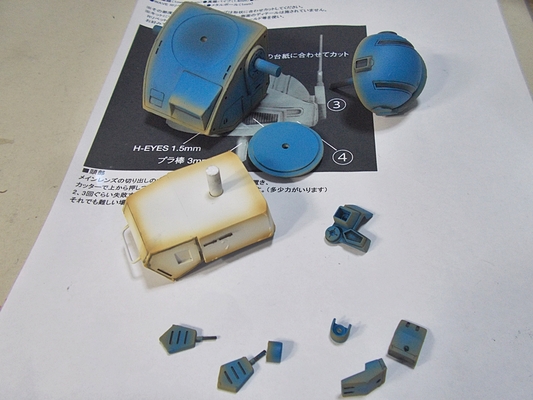
腕間接部、ポリパーツを付けます
同じく
右腕パーツ
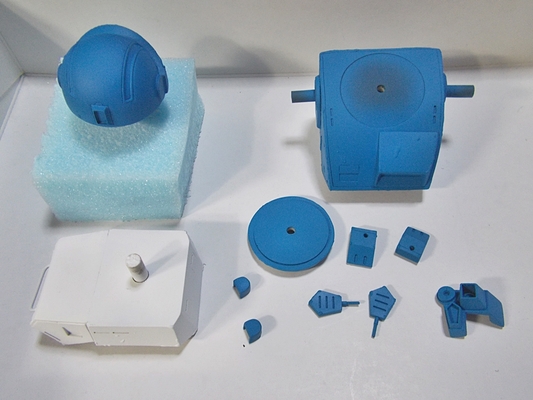
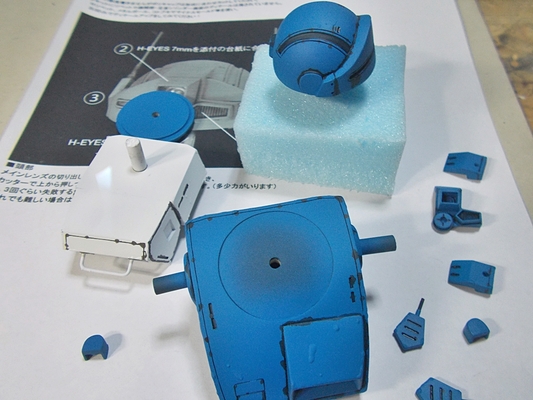
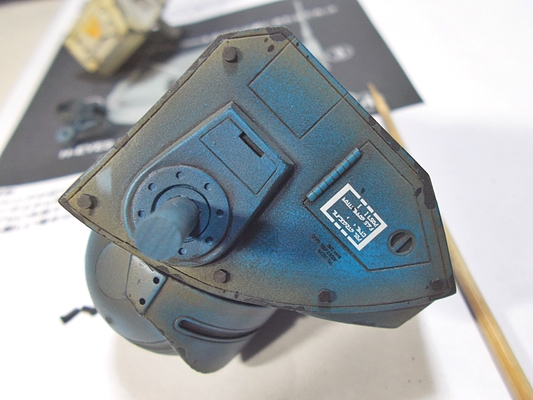
胴体基本色塗装
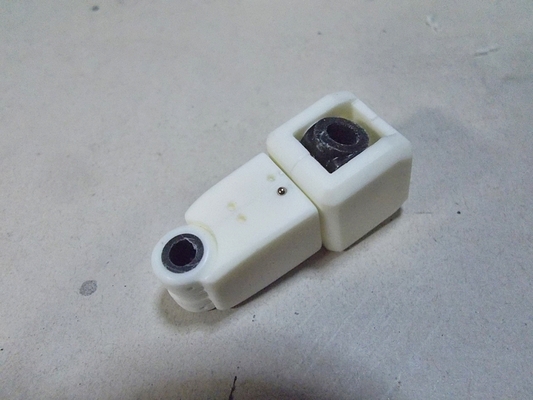
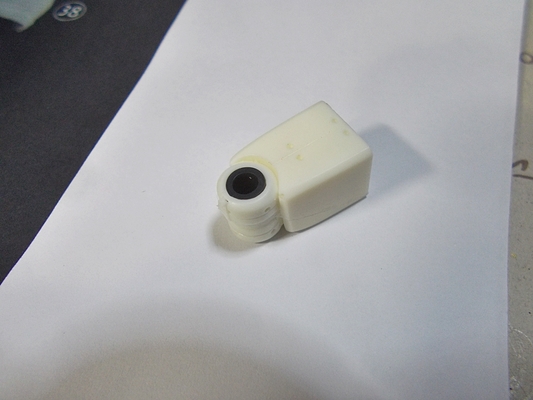
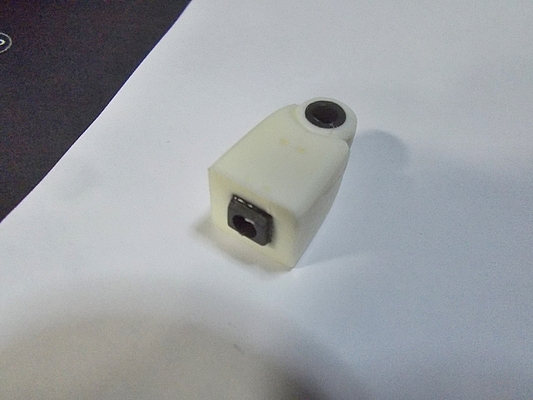
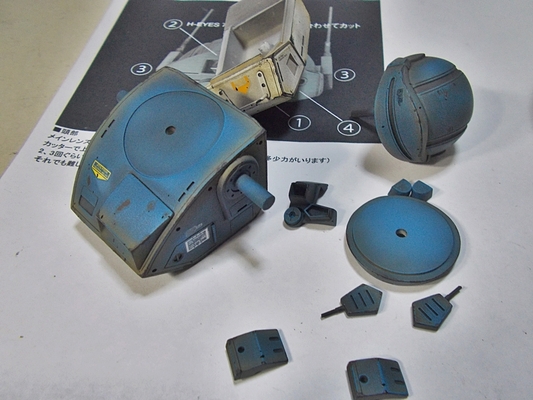
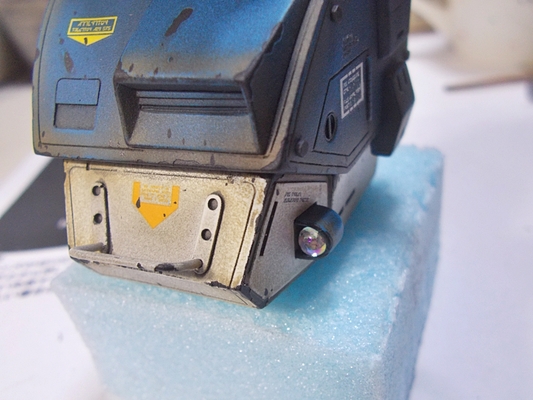
メタルパーツ取り付け
後に4ヶ所全てに入れます
同じくメタルパーツ取り付けのため穴を開けます
右が加工前
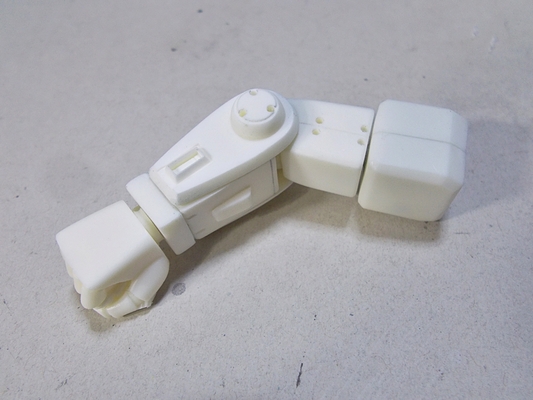
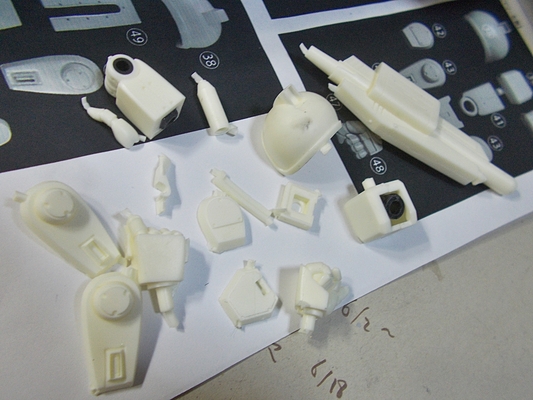
右腕、仮組み
スミ入れ中
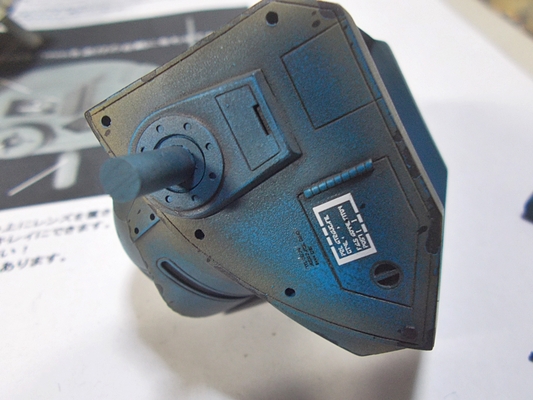
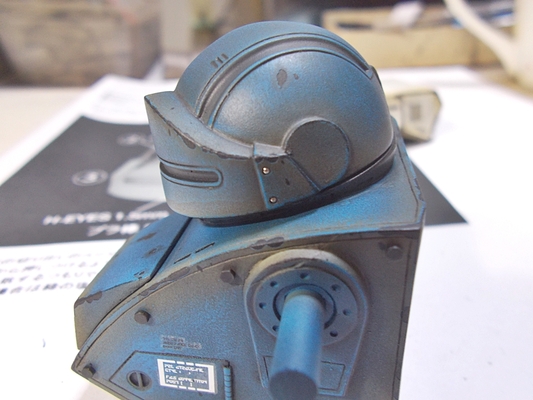
ウェザリング処理に入ります
ウェザリング完了
デカールが付属していないので他キットより流用
各部塗装ハガレ処理
リベットを入れます
こんな感じです
リベットも他キットより流用
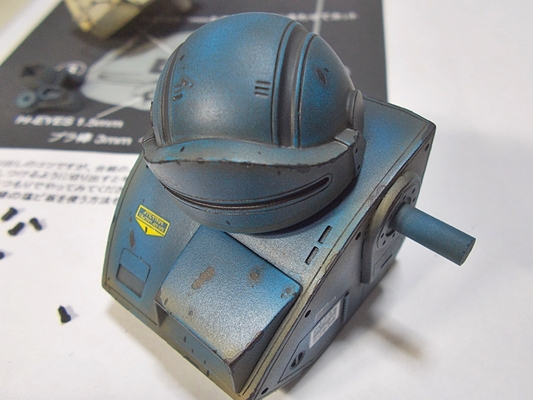
バイザー部、メタルパーツ追加
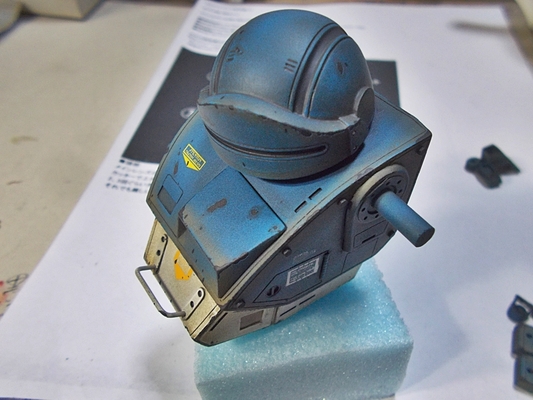
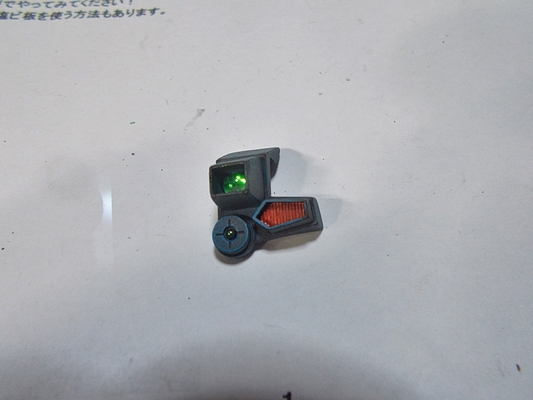
メインカメラ等メタルパーツ取り付け
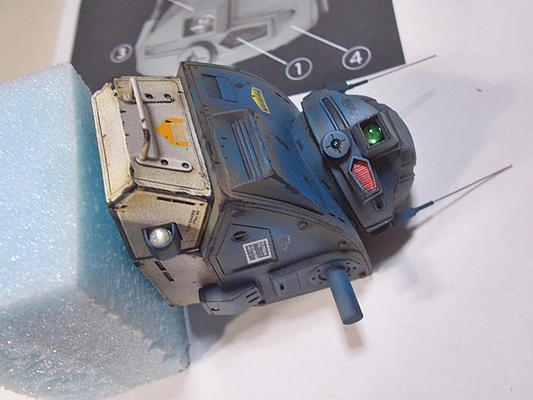
胴体完了

DATE: 13/09/03 15:43 | ▲PAGE TOP
トラックバック
このエントリーのトラックバックURL:
http://matever.com/cgi/mt/mt-tb.cgi/554
- 未来少年コナン フライングマシンI&II [アオシマ製 1/32&1/144]
- 未来少年コナン フライングマシンI&II [アオシマ製 1/32&1/144]★3★
- 製作のご依頼
- 未来少年コナン フライングマシンI&II [アオシマ製 1/32&1/144]★2★
- HG マジンガーZ(マジンガーZ INFINITY Ver.)[バンダイ製 1/144]

Copyright © 2006. MATEVER1.5. ALL RIGHTS RESERVED.