トップ > 製作進行状況 > 装甲騎兵ボトムズ ラビドリードッグ[モグ工房 1/24]★2★
装甲騎兵ボトムズ ラビドリードッグ[モグ工房 1/24]★2★
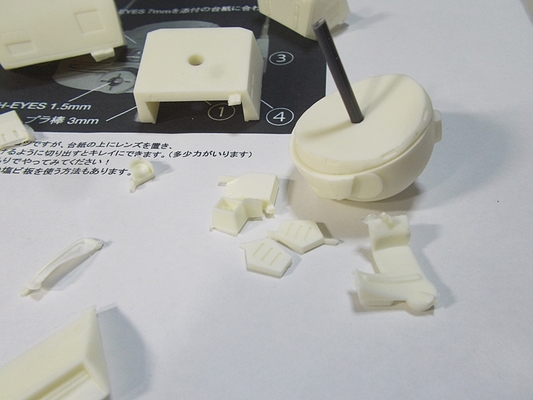
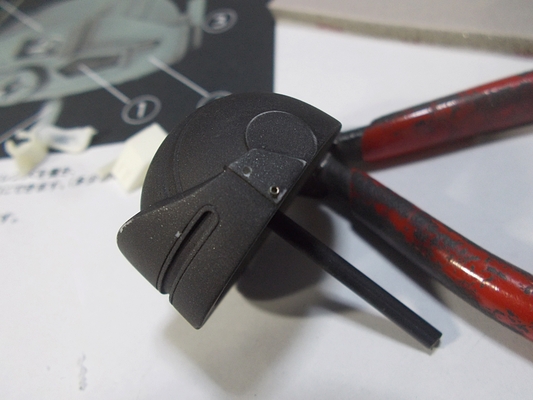
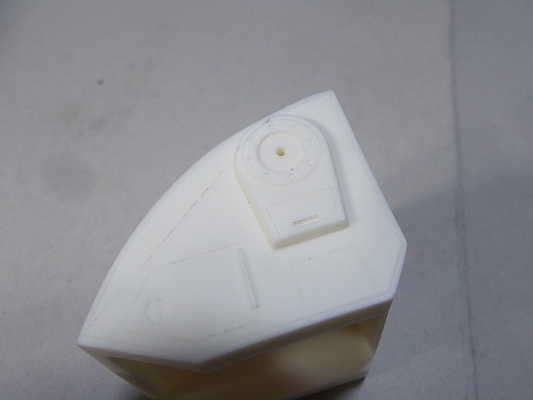
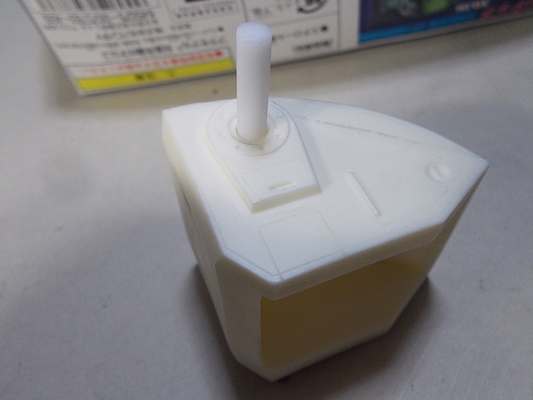
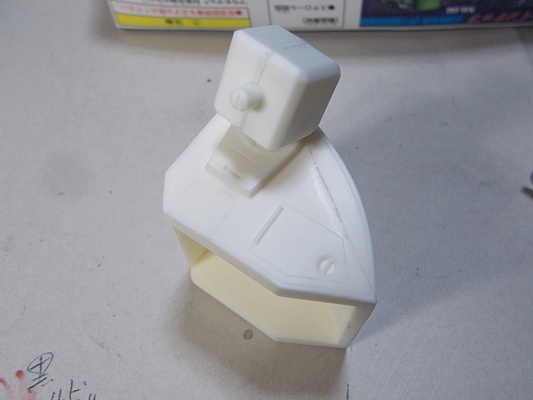
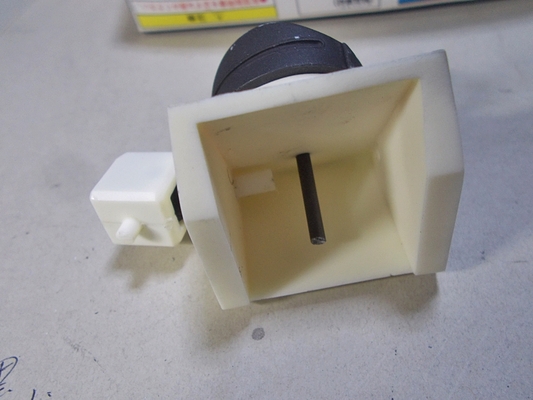
頭部
ターレット可動のため、芯棒を付けます

サフェーサー塗装
この後ペーパーで研ぎ直します
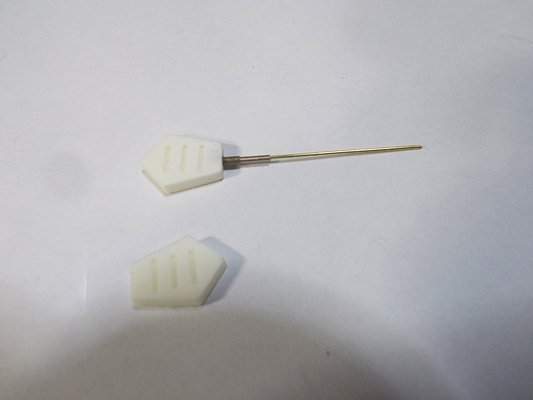
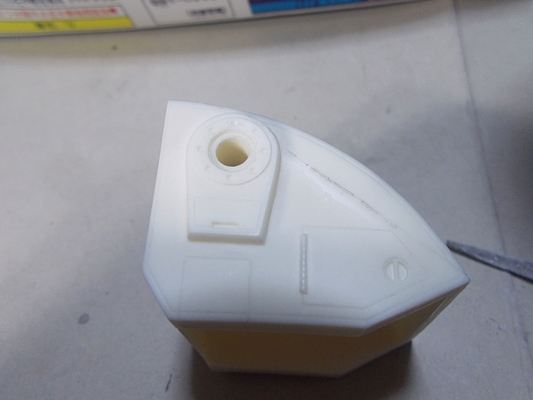
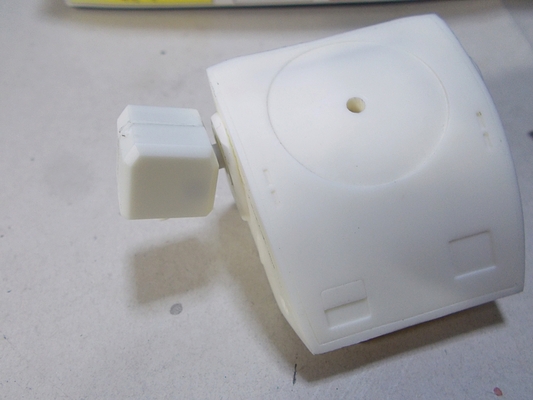
アンテナ部
真鍮パイプ、スプリング、真鍮線で追加パーツを製作
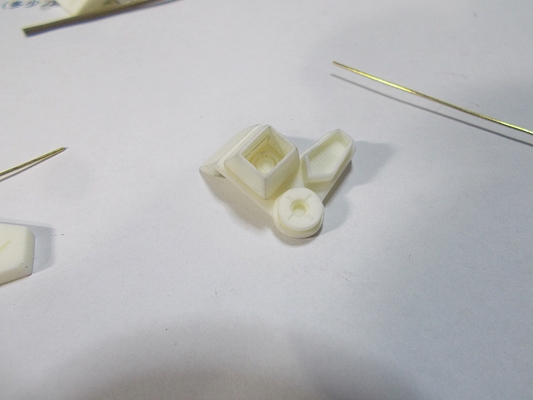
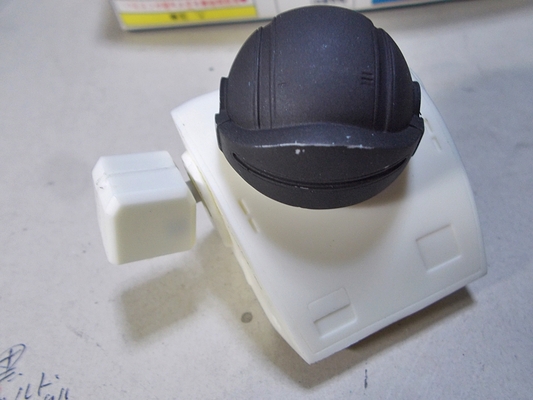
メインカメラ部
バイザー部にメタルパーツ追加
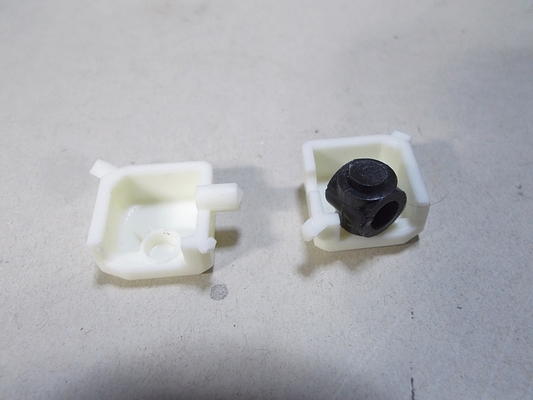
胴体コクピット部
腕との接続部可動加工のため穴を開けます
5mmまで拡大
芯棒取り付け
肩部
ポリパーツで5mm棒を受けます
仮組、接続
肩を上げる時は、引き出して上げます
ベタ付けや、上げた時に内部の芯棒が見えるためです
頭部仮組み
胴体内部です
通常のメーカーインジェクションキットに比べ加工に手間の掛かることがよく解ります
DATE: 13/08/26 12:40 | ▲PAGE TOP
トラックバック
このエントリーのトラックバックURL:
http://matever.com/cgi/mt/mt-tb.cgi/549
- 未来少年コナン フライングマシンI&II [アオシマ製 1/32&1/144]
- 未来少年コナン フライングマシンI&II [アオシマ製 1/32&1/144]★3★
- 製作のご依頼
- 未来少年コナン フライングマシンI&II [アオシマ製 1/32&1/144]★2★
- HG マジンガーZ(マジンガーZ INFINITY Ver.)[バンダイ製 1/144]

Copyright © 2006. MATEVER1.5. ALL RIGHTS RESERVED.