トップ > 製作進行状況 > 装甲騎兵ボトムズ マーシィドッグ[バンダイ製+α 1/20]★2★
装甲騎兵ボトムズ マーシィドッグ[バンダイ製+α 1/20]★2★

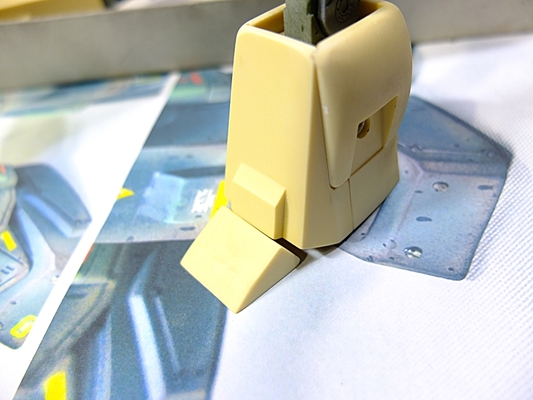
フクラハギ部、間接は仮組みです
ノーマルパーツと合わせるため、ジョイント部の加工が必須となります
ヒザパッド縁の段差を取ります
スリット部をパテで埋めます
カバー、接続部にスプリングを取り付け可動にします
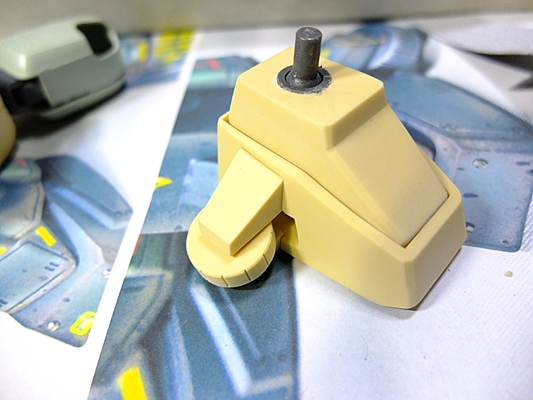
仮組み
可動状態
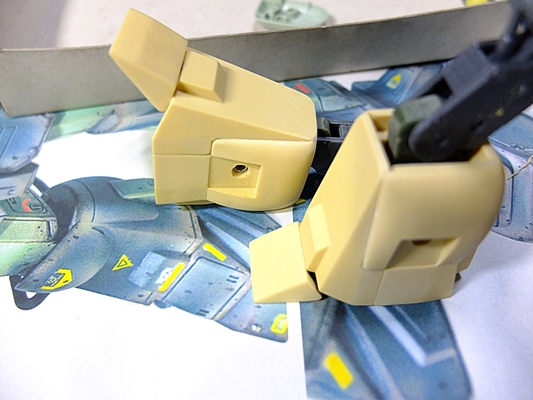
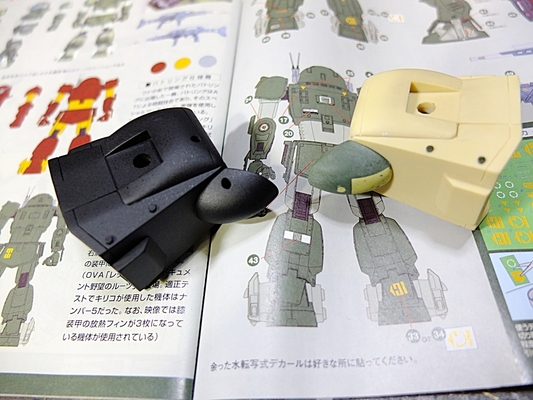
比較です
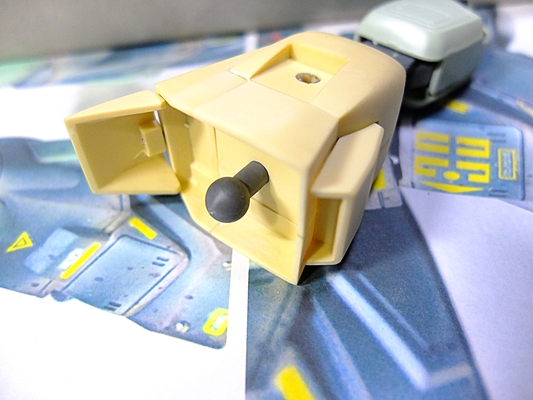
ボールジョイント取り付け
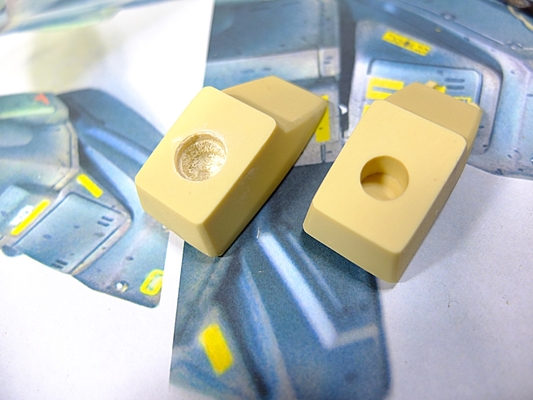
ボール受けパーツ取り付けのため穴を大型化します
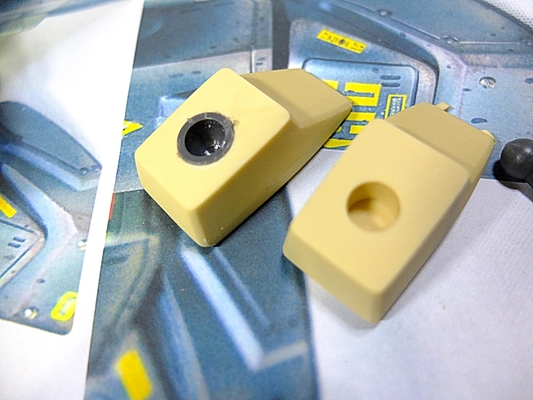
取り付け、強度的にこのサイズとなります
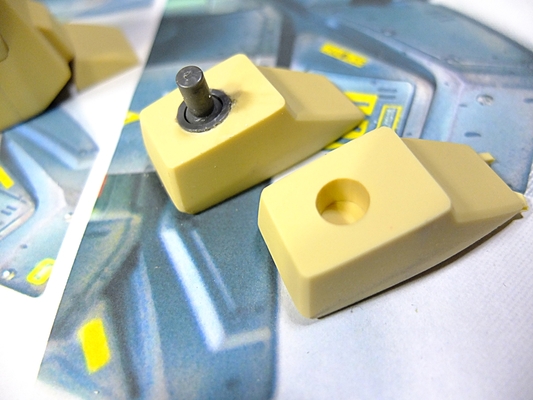
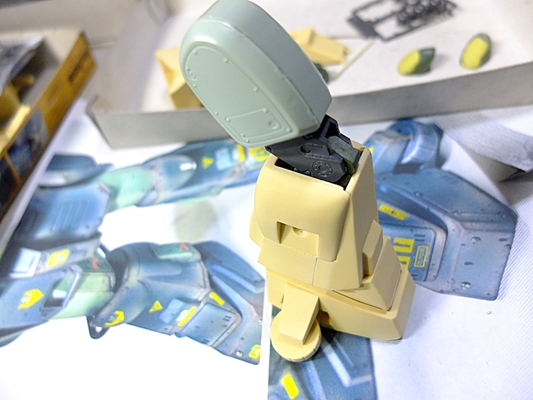
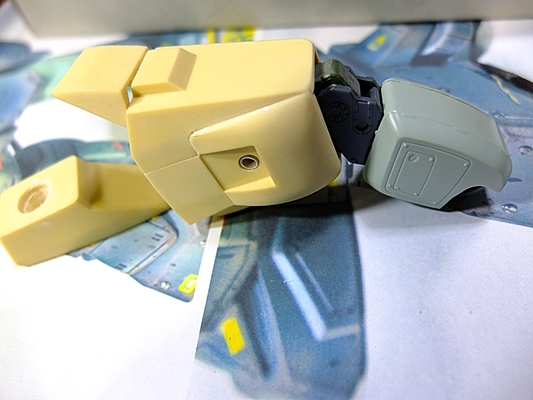
右脚、仮組み完了
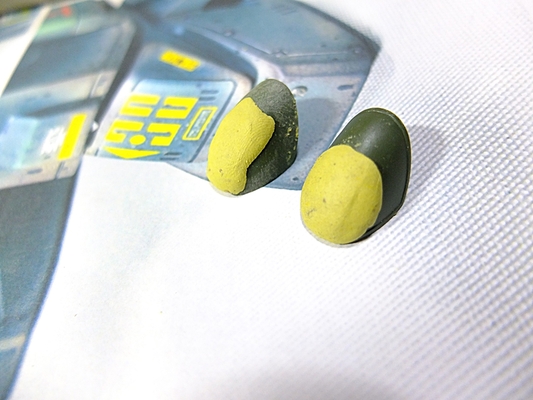
パテを削って成型します
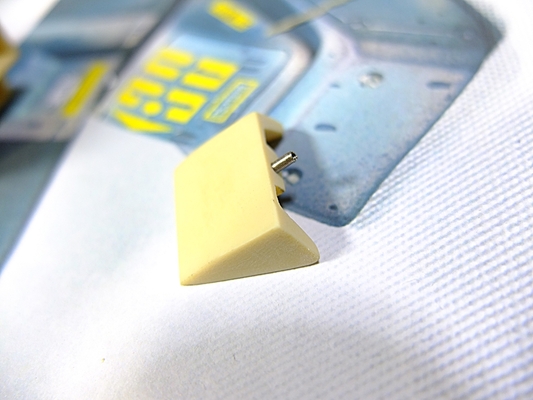
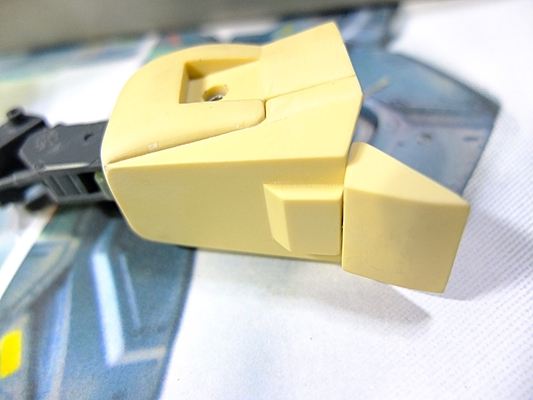
本体に取り付け
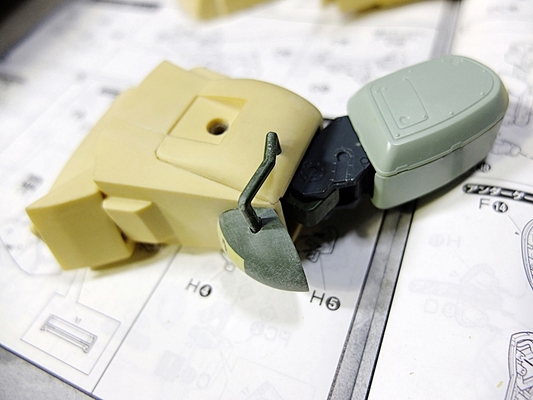
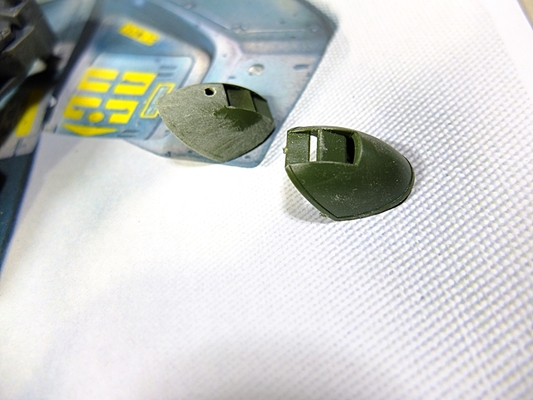
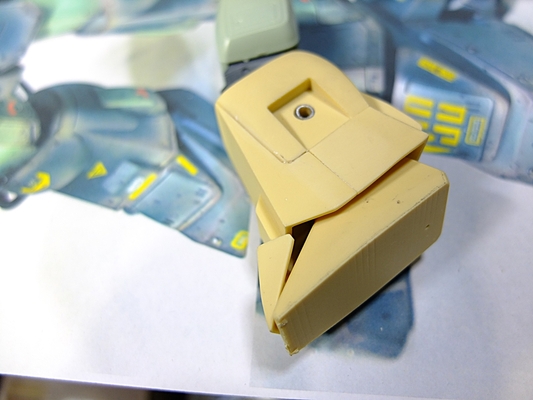
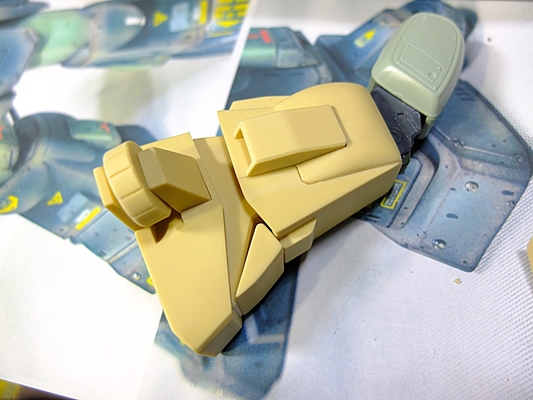
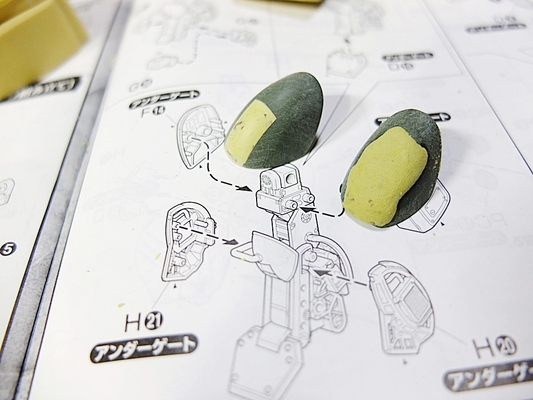
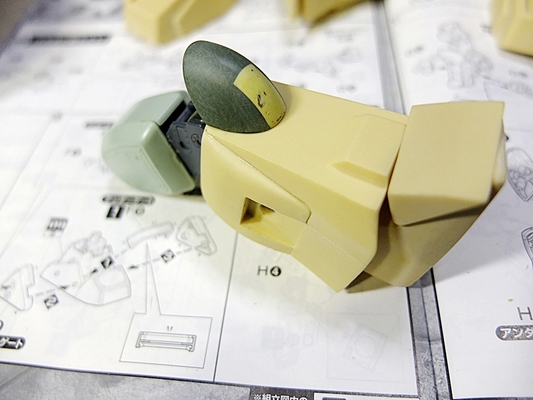
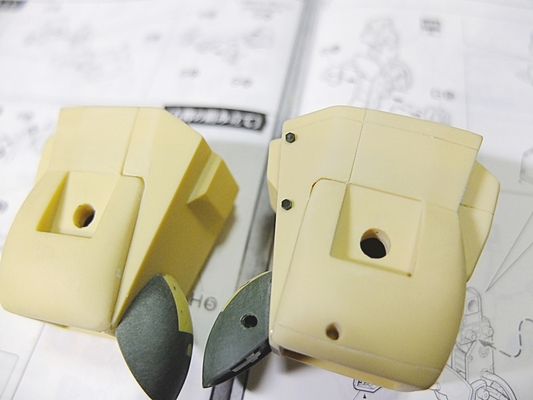
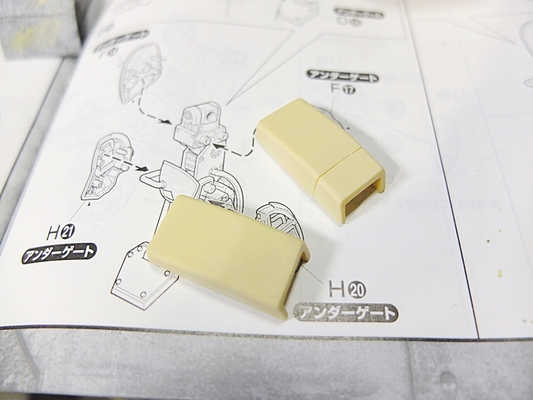
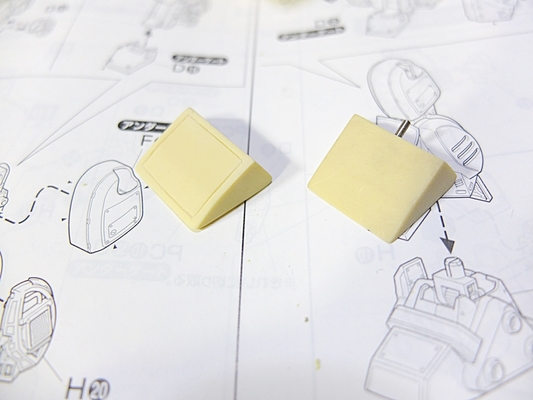
搭乗ステップ仮組み

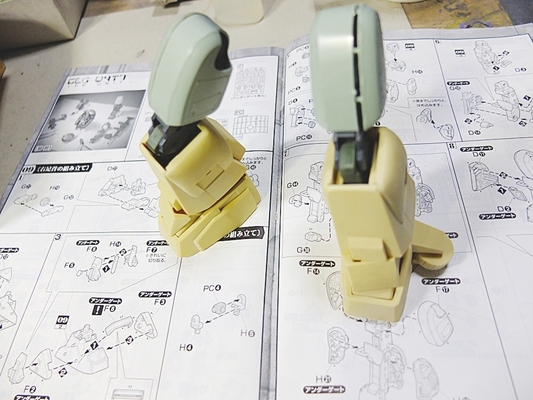
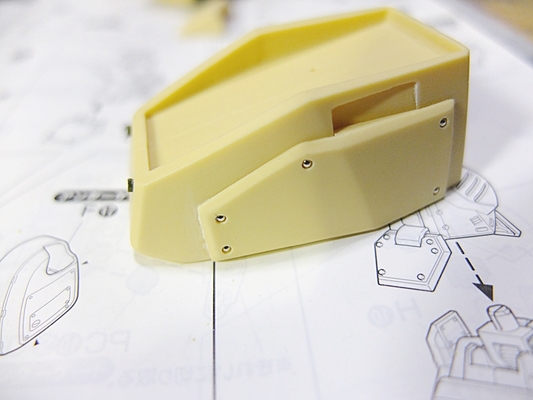
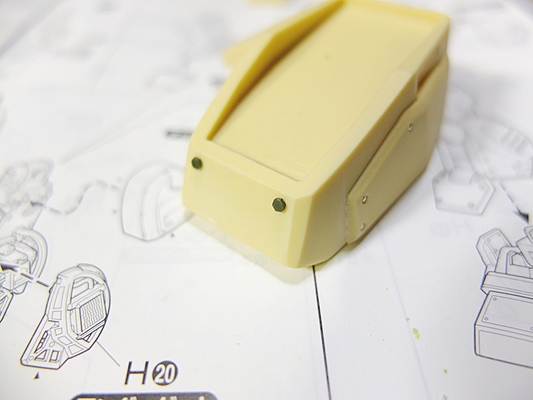
スジ彫りを行います
左が作業後
レジンキットは型を成しているだけなので追加作業が必要となります
同じく、スジ彫り中
メタルパーツ埋め込み
六角ボルト取り付け
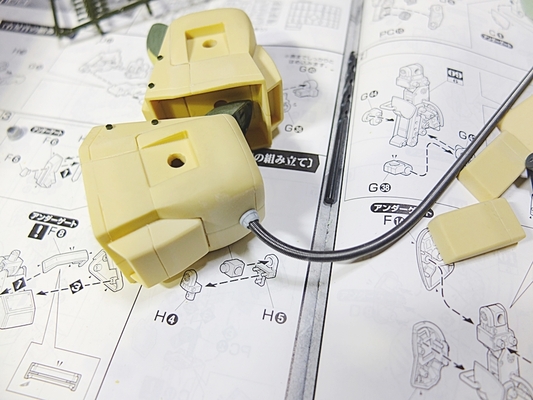
バックパックへ繋がる動力(?)パイプです
メタルスプリングを使用

各パーツ加工ほぼ完了
黒立ち上げ塗装に入ります

下半身各パーツ塗装
この後、基本色を塗装します
キモとなるレジンパーツの下半身が完了すると、残りはほぼバンダイキットとなりますので
作業的には楽になります
DATE: 13/12/25 16:55 | ▲PAGE TOP
トラックバック
このエントリーのトラックバックURL:
http://matever.com/cgi/mt/mt-tb.cgi/647
- 未来少年コナン フライングマシンI&II [アオシマ製 1/32&1/144]
- 未来少年コナン フライングマシンI&II [アオシマ製 1/32&1/144]★3★
- 製作のご依頼
- 未来少年コナン フライングマシンI&II [アオシマ製 1/32&1/144]★2★
- HG マジンガーZ(マジンガーZ INFINITY Ver.)[バンダイ製 1/144]

Copyright © 2006. MATEVER1.5. ALL RIGHTS RESERVED.