トップ > 製作進行状況 > 宇宙戦艦ヤマト2199 BBY-01 ヤマト[バンダイ製 1/500]◆3◆★2★
宇宙戦艦ヤマト2199 BBY-01 ヤマト[バンダイ製 1/500]◆3◆★2★
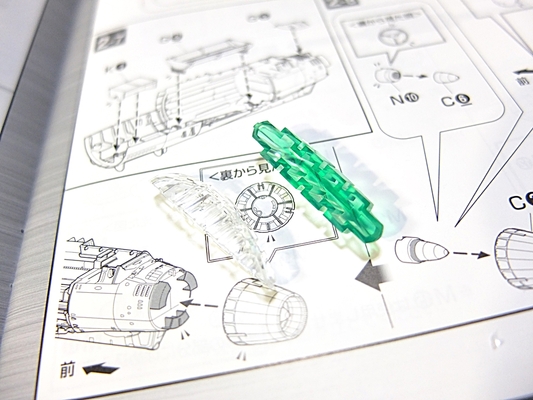
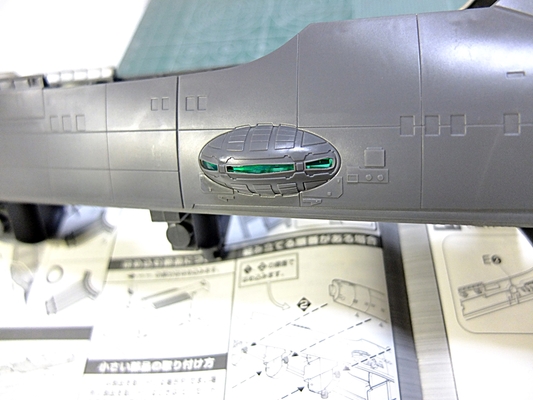
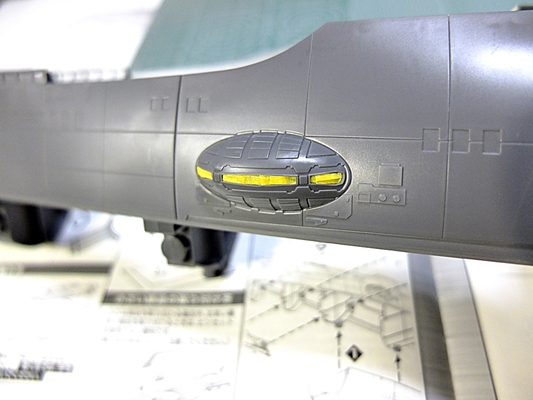
舷側 展望室キャノピー塗装
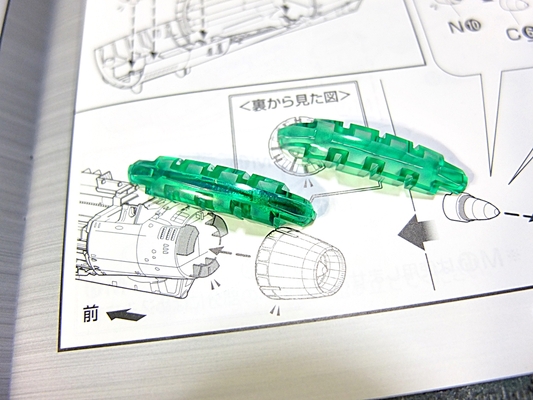
左 光を拾うようにメタルテープ裏バリ
取り付け
マスキングします
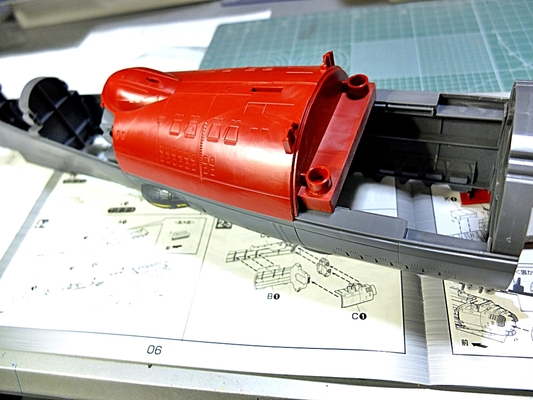
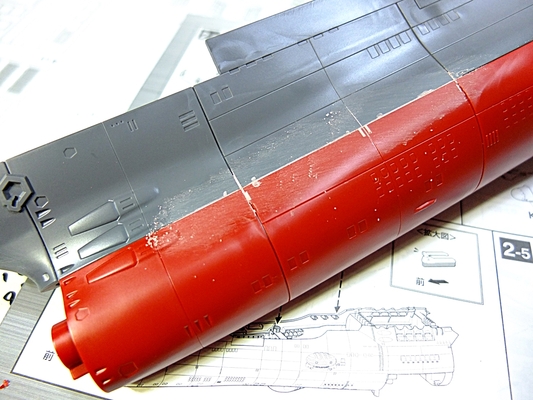
船底 パーツを組んでいきます
内側から流し込みで接着固定
アンダーゲートなのでゲート処理を入念に行います
処理後 ここの処理をしっかりしないとパネルが全く合いません
接着固定後 段差処理中
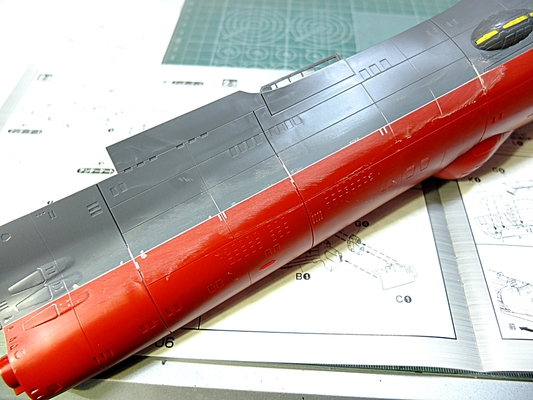
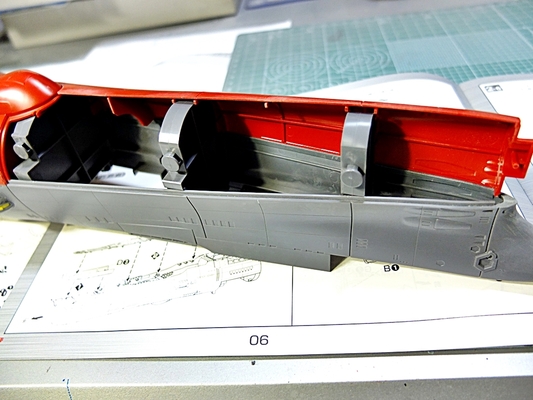
船底 パチ組みだとこれだけ隙間が開きます
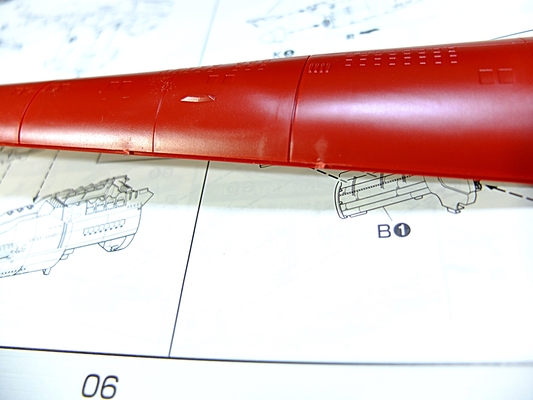
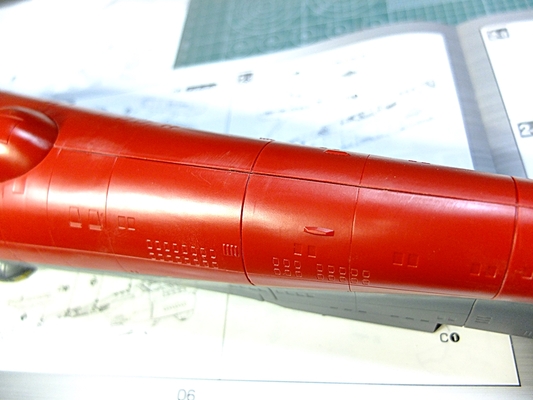
接着固定して合わせ目処理中
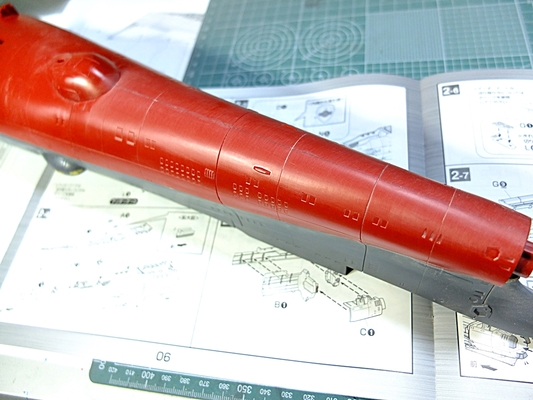
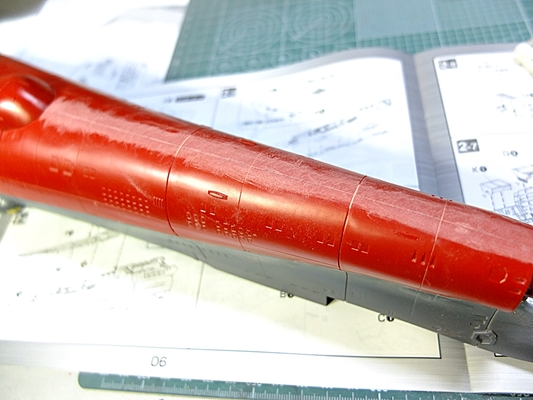
合わせ目はこんな感じです 浅くなるパネルラインは後に掘り直します
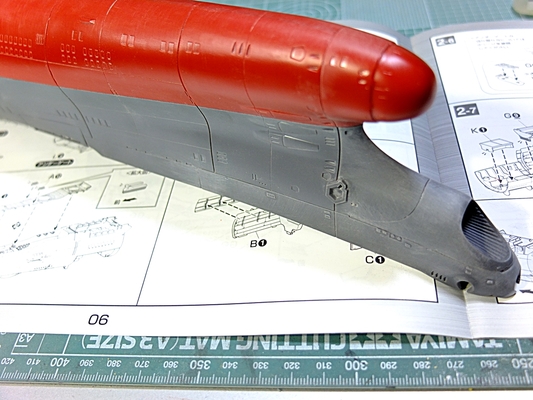
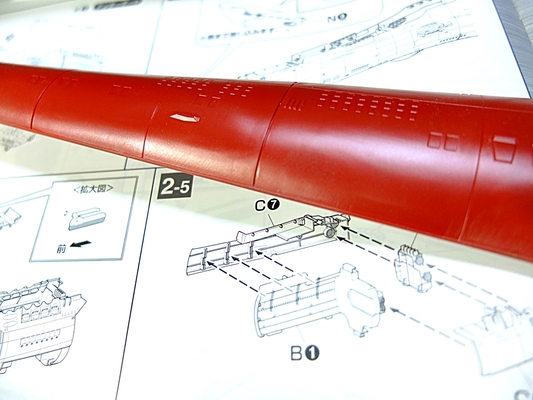
船首 バルバス・バウ部も段差補正します
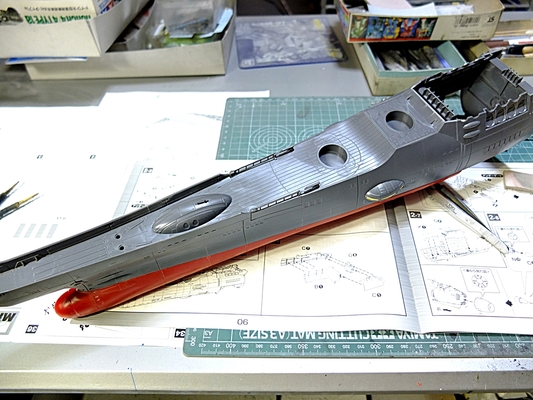
船体前部 組み付けほぼ完了 この後 後部に入ります
DATE: 14/05/25 15:48 | ▲PAGE TOP
トラックバック
このエントリーのトラックバックURL:
http://matever.com/cgi/mt/mt-tb.cgi/781
- 未来少年コナン フライングマシンI&II [アオシマ製 1/32&1/144]
- 未来少年コナン フライングマシンI&II [アオシマ製 1/32&1/144]★3★
- 製作のご依頼
- 未来少年コナン フライングマシンI&II [アオシマ製 1/32&1/144]★2★
- HG マジンガーZ(マジンガーZ INFINITY Ver.)[バンダイ製 1/144]

Copyright © 2006. MATEVER1.5. ALL RIGHTS RESERVED.